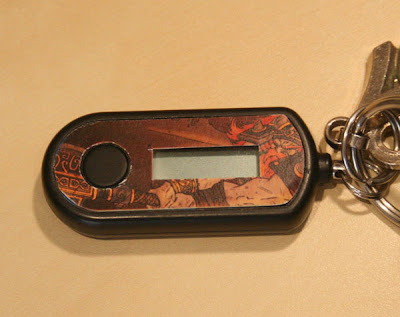
A while back I bought an authenticator to add an extra layer of security to my Warcraft account. But since it travels everywhere in my pocket attached to my keys, the art work on the front is starting to look a bit damaged. Then while listening to Turpster on the Wow Insider Show offer to sign the BlizzCon authenticator they were giving away and idea struck me. Why not make my own sticker to attach to the front, with unique artwork!
Twenty minutes later I had myself two templates and a handful of custom artworks for my authenticator. These along with some simple instructions I share with you.
- Buy an Authenticator from the Blizzard Store if you don’t already own one.
- Visit your local stationary store and buy some sticky labels. The word template works perfectly with the Avery L7163 labels but with a bit of tweaking or if you use the Illustrator template most sticky labels will work as long as it is larger than 52mm by 21mm.
- Find an image to use on your authenticator. You might want to use a screen shot of your character, some Blizzard concept art or even draw some thing yourself. You may need to revisit this step several times until you find a picture that fits well.
- Open either the Word or Illustrator template and place your chosen image behind the overlay. Once your happy with the placement print your design onto the sticky label.
- Using a sharp craft knife carefully cut out the blank spaces and then around the edges.
- Peel your sticker off its backing and attach to your authenticator.
Download the Word Template
Download the Illustrator Template Read Full Article


